


⚡ TL;DR: This guide covers Roof Installation essentials in Santa Clarita, CA, from local climate challenges and material choices to step-by-step processes and contractor tips.
📋 What You’ll Learn
In this ultimate roof installation guide for Santa Clarita, CA, you’ll master local climate challenges, material choices, prep essentials, flawless installation steps, and hiring top contractors for lasting results.
- Navigate Santa Clarita’s roofing challenges by understanding scorching summers, stormy winters, wind damage risks, and common pitfalls that lead to premature leaks or failures.
- Select the best materials for durability including asphalt shingles, tile options, and underlayments that withstand extreme heat, rain, and UV exposure in our valley climate.
- Master pre-installation preparation with thorough inspections, securing permits, safety protocols, and site cleanup to ensure a smooth, code-compliant process from day one.
- Follow the step-by-step installation covering tear-off, decking repairs, flashing, layering, and final inspections for a weather-tight roof built to last decades.
- Hire reliable local contractors confidently using pro tips on vetting credentials, checking reviews, getting quotes, and spotting red flags for quality Santa Clarita roof work.
📖 Reading time: 7 min
✍️ Author expertise: Santa Clarita roofing pro with 20 years of hands-on installations from local homes and harsh weather challenges.
Your Santa Clarita roof takes a beating from scorching summers and sudden winter storms that dump inches overnight.
One wrong move during installation, and you're staring at leaks, sagging shingles, or a total replacement bill that hits like a freight train.
That's why this ultimate roof installation guide for Santa Clarita, CA, cuts through the noise with proven steps to get it done right the first time.
Grab a coffee and let's roll up our sleeves on the details that save you thousands.
Santa Clarita's Roofing Challenges: Climate and Common Pitfalls
Santa Clarita's summers hit triple digits, baking roofs until shingles crack and warp. Winters bring flash floods that test every seam and seal. Add wildfire embers drifting in the wind, and your roof faces a brutal yearly grind.
Most folks ignore how this climate punishes shortcuts. Heat waves cause materials to expand and contract, popping nails loose over time. Sudden downpours expose weak spots fast, turning minor flaws into major headaches.
Top Pitfalls That Doom Santa Clarita Roofs
- Poor ventilation: Traps hot air, speeding up shingle breakdown in our dry heat.
- Inadequate flashing: Lets water sneak in during those rare but fierce storms.
- Wrong underlayment: Fails against wind-driven rain, leading to rot beneath the surface.
- Skipping fire-rated materials: Risky with Santa Clarita's fire zones nearby.
These mistakes stack up quick. Spot them early, and you dodge the repair truck for years.
Selecting Durable Materials for Scorching Summers and Stormy Winters
Santa Clarita's heat bakes roofs all summer long. Then winter rains pound down hard. Pick the wrong materials, and they crack, fade, or fly off in gusts.
Top Picks That Hold Up Here
- Class A fire-rated asphalt shingles: Tough against embers from nearby wildfires, plus they shrug off 120-degree days.
- Standing seam metal roofing: Zero leaks from heavy rain, lasts 50+ years, and reflects sun to cut AC bills.
- Concrete or clay tiles: Wind-resistant up to 110 mph, perfect for our Santa Ana winds and quake country.
Skip cheap imports that warp in the sun. Go for impact-rated options to handle hail surprises. These choices slash repair calls and boost home value.
Match materials to your roof pitch and budget. A local pro can show samples that thrive in our valley temps. Test for UV protection and algae resistance too.
Pre-Installation Prep: Inspections, Permits, and Safety Essentials
Skip the prep work, and your new roof turns into a money pit fast. In Santa Clarita, where homes hug hillsides and winds whip through canyons, solid groundwork dodges disasters like structural cracks or code violations.
Start with a full roof inspection. Our crew climbs up, probes for rot, checks decking integrity, and scans the attic for ventilation issues. No shortcuts here - one weak spot sinks the whole job.
Key Inspection Checklist
- Flashings around chimneys and vents: Rusty? Replace 'em.
- Trusses and rafters: Sagging means reinforcement time.
- Underlayment condition: Brittle stuff goes in the trash.
- Local fire codes: Santa Clarita demands Class A materials nearby brush zones.
Permits and Paperwork That Can't Wait
Santa Clarita's building department runs a tight ship. Pull permits before a single shingle flies - or face fines up to $500 a day.
File for residential reroofing online via their portal. Expect a site visit within 48 hours. Got solar panels? Double-check HOA rules too; they love nitpicking curb appeal.
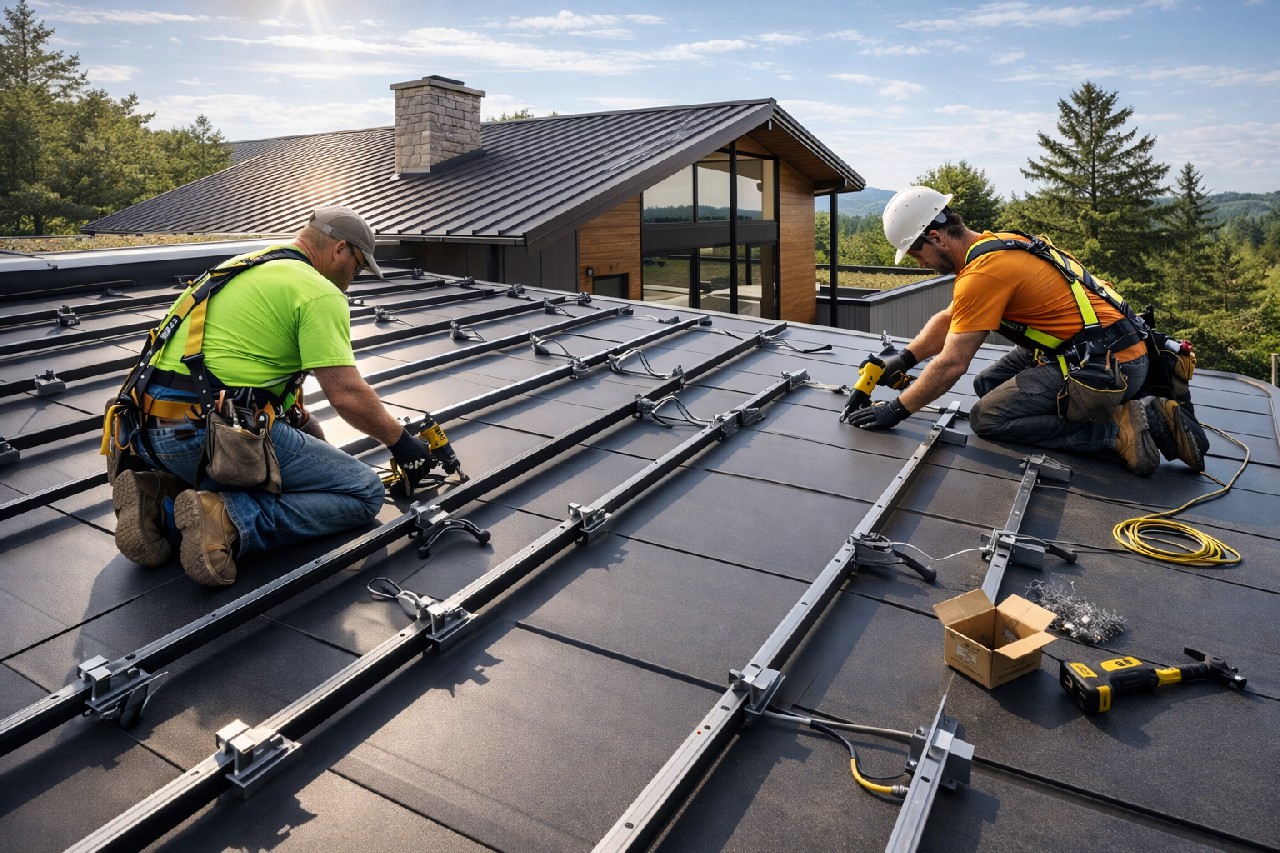
Safety Gear-Up: No Room for Heroes
Falls kill more roofers than storms ever will. Gear up with harnesses, toe boards, and warning lines per OSHA rules.
Clear the site: Tarps over landscaping, power lines flagged. In our installs, every worker logs training - because one slip-up costs lives and lawsuits.
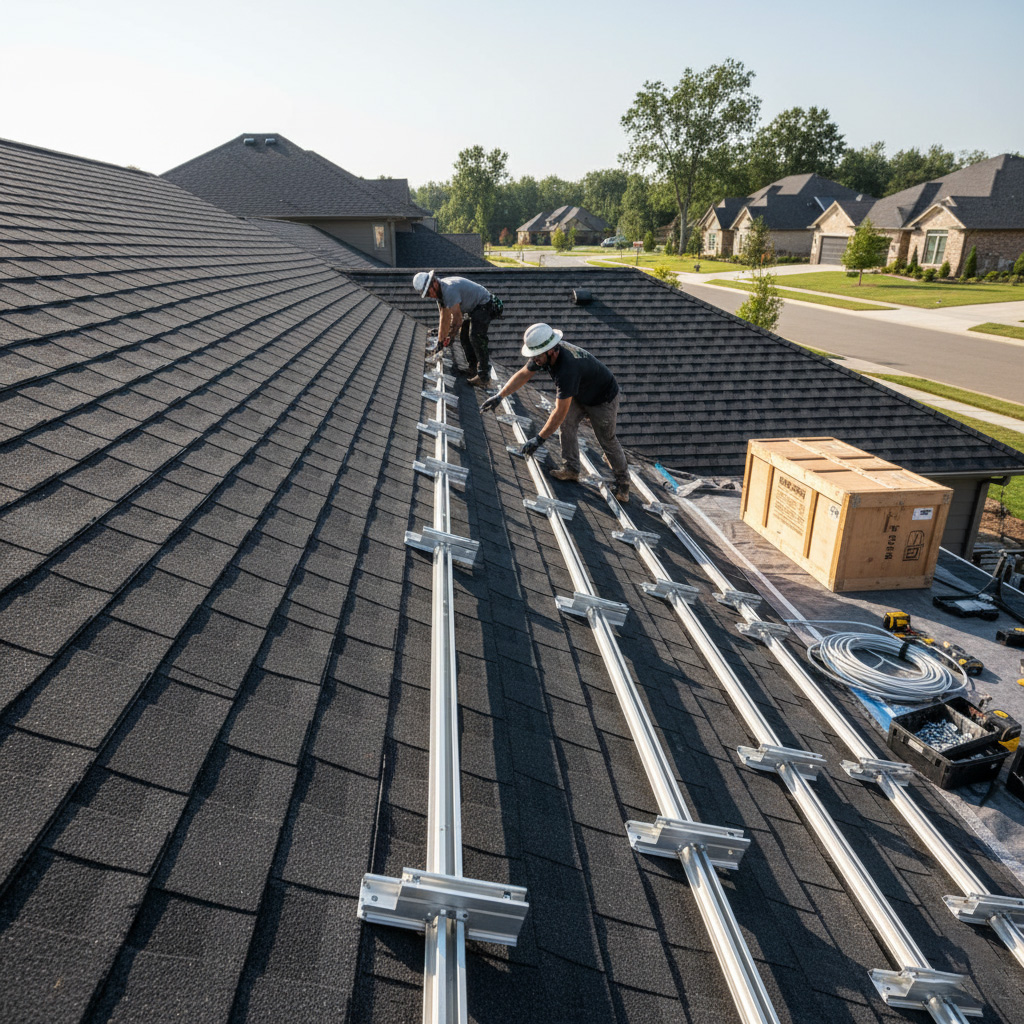
The Step-by-Step Roof Installation Process Done Right
Installing a roof in Santa Clarita demands precision. Skip a step, and those triple-digit summers or El Niño downpours will punish you fast.
Here's the exact sequence our crews follow to nail it every time. We break it down simple, so you know what to watch for.
Step 1: Rip Off the Old Roof
Start by stripping everything down to the deck. No half-measures - haul away shingles, underlayment, and nails.
Inspect the wood sheathing right there. Replace any rotted boards, especially after our wet winters.
- Clear debris completely. Leftover junk causes bumps and leaks.
- Check for damage from Santa Clarita's oak pollen or critter nests.
Step 2: Layer Up Protection
Roll out ice-and-water shield along eaves and valleys. This stops wind-driven rain from sneaking in.
Then synthetic underlayment over the whole deck. It's tougher than felt for our hot attic temps.
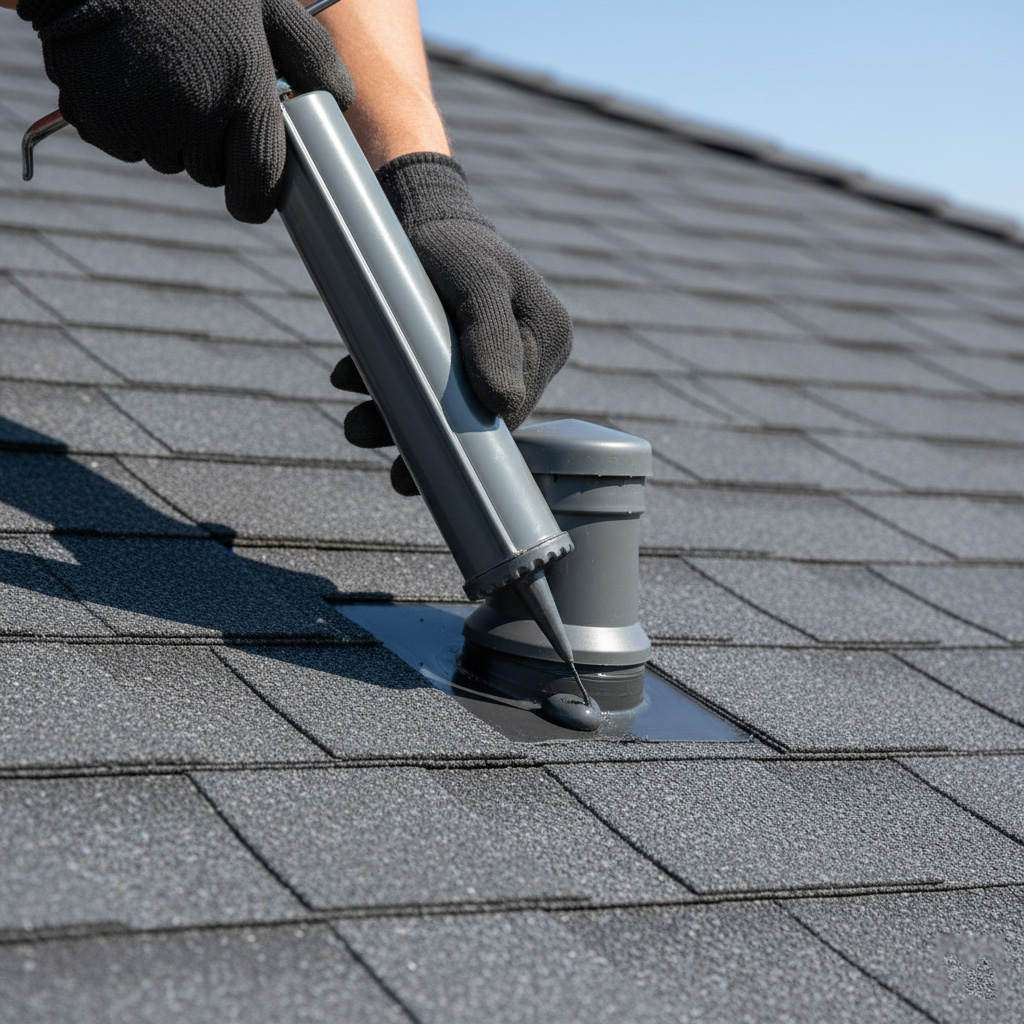
Step 3: Flash and Starter Strip
Install metal flashing around chimneys, vents, and walls. Seal tight against Santa Clarita's gusty Santa Ana winds.
Lay starter shingles along edges. They lock the first row in place, fighting uplift.
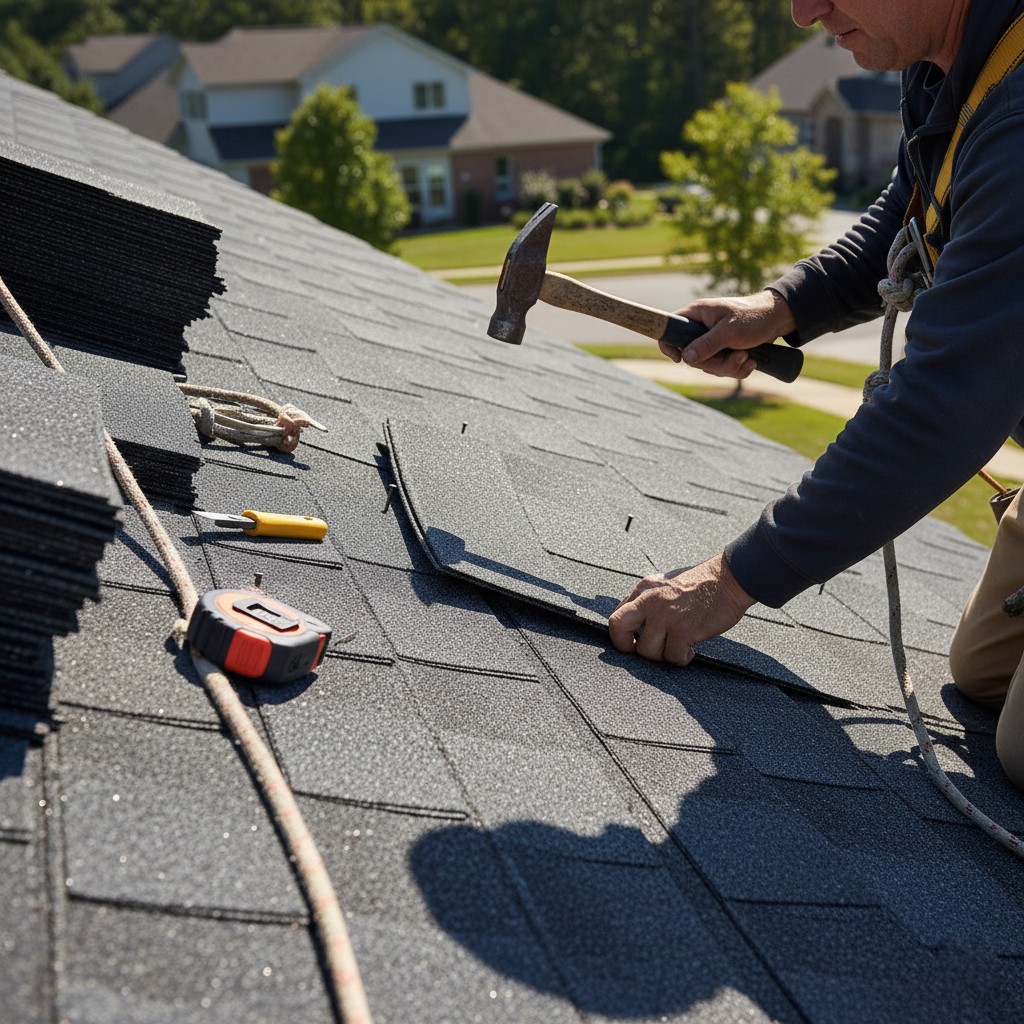
Step 4: Shingle It Right
Run courses from bottom up, nailing per manufacturer specs. Offset seams to shed water like a pro.
Hit hips and ridges last with cap shingles. Ventilate properly to beat the heat buildup.
Final sweep: Clean the gutters and test for level. Boom - your roof's battle-ready.
Pro Tips for Hiring Reliable Santa Clarita Roofing Contractors
Listen, picking the wrong roofer in Santa Clarita can turn your dream install into a nightmare of callbacks and cash drain.
Start by demanding proof of a current California contractor's license. Then verify workers' comp and liability insurance right there on the spot. No shortcuts here, or you're on the hook for accidents.
Zero in on Local Pros Who Know Santa Clarita's Weather Woes
- Skip out-of-towners; hunt for crews with years of Santa Clarita roofs under their belts.
- Ask for photos of recent jobs in Valencia or Canyon Country. Real talk: if they can't show battle-tested work against our triple-digit heat and El Niño floods, walk away.
- Check online reviews on Google and Yelp, but call three references yourself. What matters? Their straight answers on timelines and headaches.
Finally, get three detailed bids in writing, no vague ballparks. Grill them on warranties, cleanup plans, and how they handle surprises like old deck rot.
Pro move: Visit a current job site unannounced. Spotless work zone? Crew hustling with top gear? That's your green light.
Case Study: Transforming a Leaky Santa Clarita Home with Flawless Installation
Meet Mike, a Santa Clarita homeowner in Valencia who watched buckets collect rainwater in his living room every winter storm. His 15-year-old asphalt roof had buckled under triple-digit summer heat, cracking shingles and letting leaks seep through. Desperate after two botched patch jobs, he nearly gave up.
The Breaking Point and Smart Pivot
Mike skipped the cheap fixes this time. He demanded a full inspection revealing poor underlayment and zero ventilation – classic Santa Clarita pitfalls.
- Water damage spread to attic insulation, spiking energy bills by 30%.
- Mold threats loomed in the humid winters.
- Structural beams showed early rot.
He hired a local crew certified for our valley's wild weather swings.
Flawless Install and Game-Changing Results
Following our step-by-step process, pros stripped the old mess in one day. They layered impact-resistant shingles with premium ice-and-water shields, plus ridge vents to fight summer scorch.
Post-install? Zero leaks after the next downpour. Mike's AC runs less, slashing bills. His roof now carries a 50-year warranty, turning nightmare into fortress.
Final Thoughts
A solid roof installation in Santa Clarita isn't just nails and shingles. It's your shield against the brutal sun and freak storms that hit our valley hard.
Skip the shortcuts. Follow these steps, pick pros who deliver, and watch your home stand strong for decades.
Ready to get your roof sorted? Dive deeper into our roof installation services tailored for Santa Clarita homes.
- Call today for a free inspection.
- Avoid leaks before they start.
- Save big on future repairs.
Don't wait for the next downpour to test your setup. Act now.
People Also Ask
How long does a professional roof installation take in Santa Clarita, CA?
A typical roof installation in Santa Clarita takes 1-3 days for most homes, depending on roof size, complexity, and weather conditions. Simpler asphalt shingle replacements can finish in a day, while tile roofs or steep pitches may require up to a week. Local experts ensure minimal disruption with efficient crews and proper planning.
What is the average cost of roof installation in Santa Clarita?
Average roof installation costs in Santa Clarita range from $8,000 to $25,000, varying by material, roof size, and labor. Asphalt shingles are more affordable at $100-$200 per square, while premium clay tiles suited to local climate can reach $300+ per square. Get multiple quotes from licensed contractors for the best value.
What are the best roofing materials for Santa Clarita's climate?
Clay tiles and concrete tiles excel in Santa Clarita's hot summers and occasional winter storms due to their heat resistance and durability. Asphalt shingles with impact ratings handle wind and hail well, while metal roofing offers longevity and energy efficiency. Choose materials with Class A fire ratings to meet local codes.
Do I need a permit for roof replacement in Santa Clarita, CA?
Yes, Santa Clarita requires building permits for most roof installations or replacements to ensure code compliance. Permits involve inspections for structural integrity and safety, typically handled by your contractor. Skipping permits can lead to fines or insurance issues, so always verify with the city's Building & Safety Division.
How do I hire the best roofing contractor in Santa Clarita?
Look for licensed, insured contractors with strong local reviews, warranties, and experience in Santa Clarita's climate challenges. Check references, verify C-39 licensing, and request detailed contracts outlining materials and timelines. Reputable pros like those specializing in the area provide free inspections and transparent pricing.
Santa Clarita Roofing delivers professional roofing services throughout Santa Clarita, CA. With extensive experience in installations, repairs, and maintenance, the team addresses the unique demands of local homes and businesses. Rooted in the community, they prioritize quality craftsmanship and reliable solutions.
Need Roofing?
Fast roof repairs and replacements in Santa Clarita, CA and nearby areas (91350, 91351, 91354, 91355) deliver leak-proof protection and weather resistance without delay.
Get Roofing Quote